
MATERIALS AND TOOLS
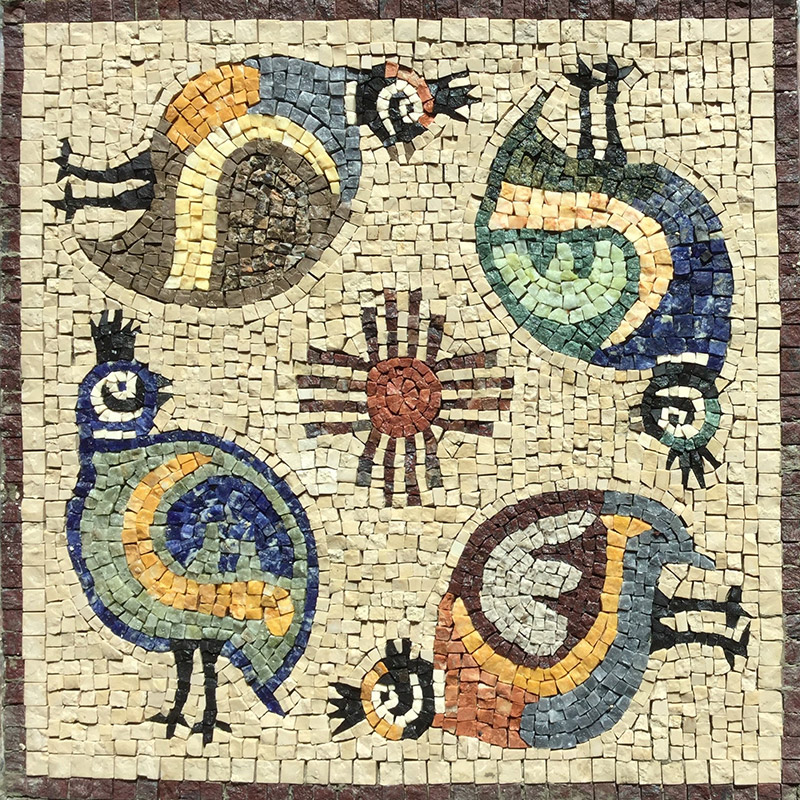
The mosaicist’s palette is comprised of 16 different marbles, 7 of which are from Egypt.
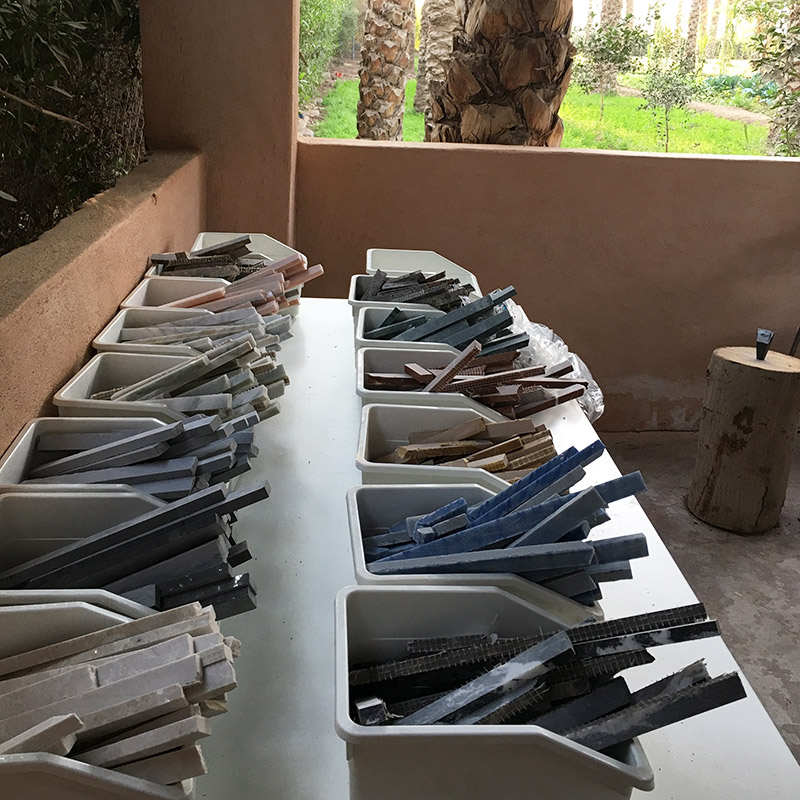
The marble, purchased in slabs, is cut by machine into rods.
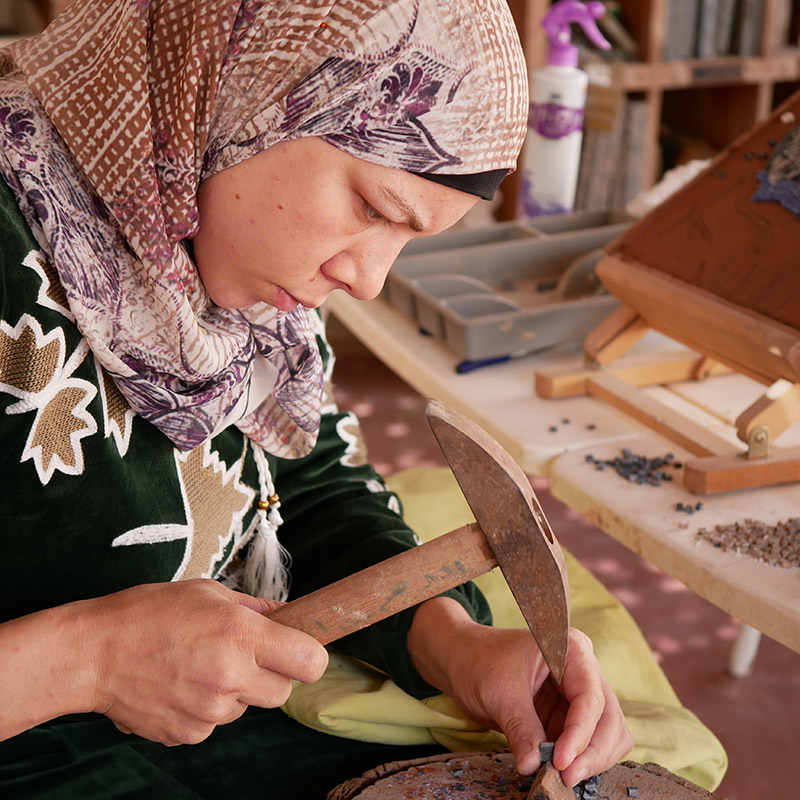
The rods are then cut by hand into small cubes (called 'tesserae') typically ranging from 3 to 5 centimeters.
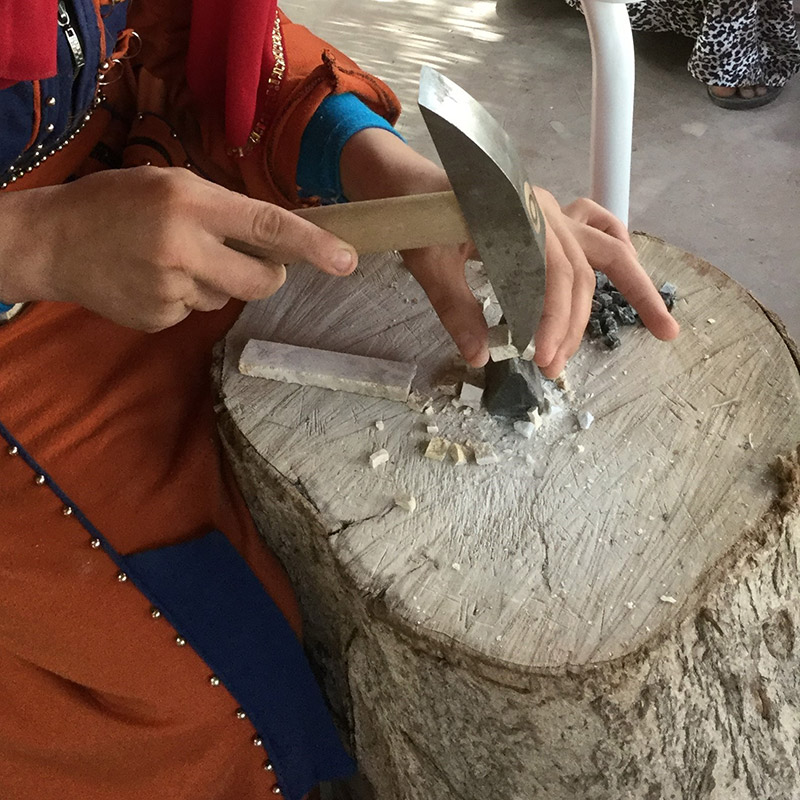
The mosaicist uses a hammer in conjunction with an inverted chisel-like blade (called a ‘hardy’) anchored in a stout tree trunk.
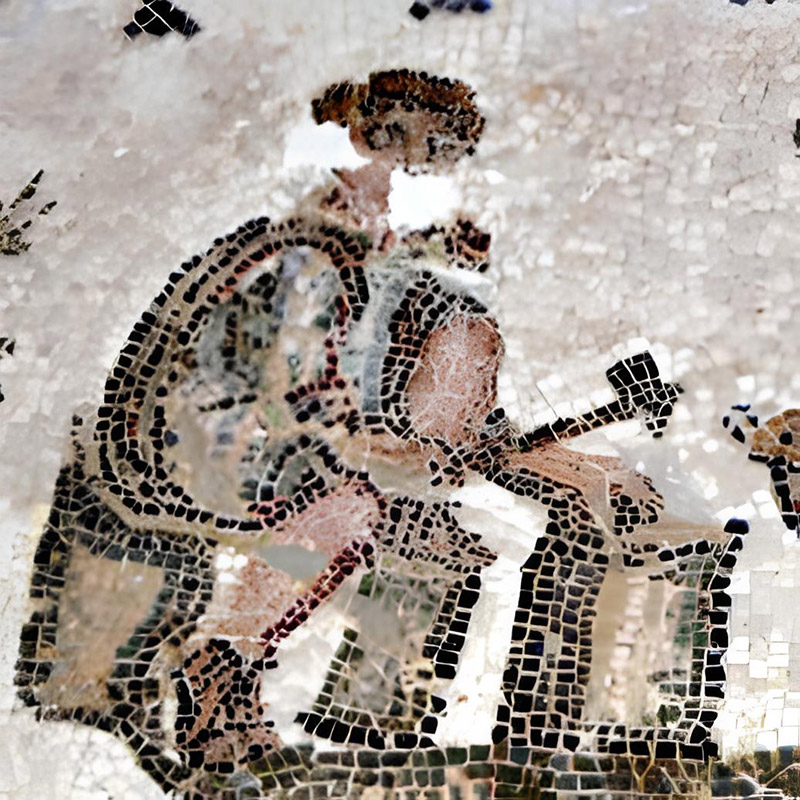
This is the same working method as that used in antiquity.
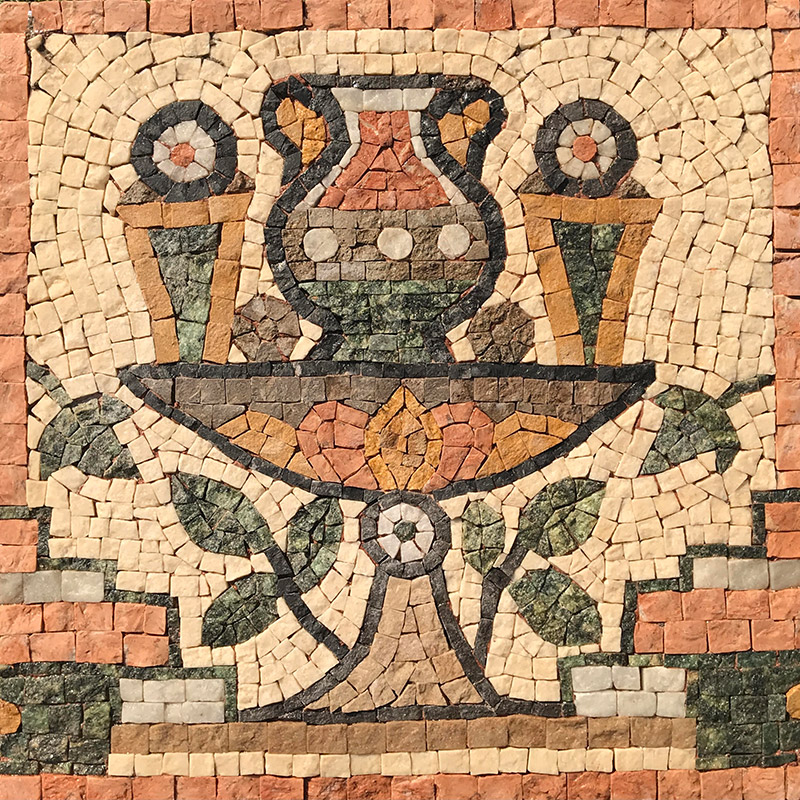
The rough broken surface achieved with the hammer cut is what gives our marble mosaics their distinctive texture.
STEP 1 - Building the mosaic on a temporary bed of clay
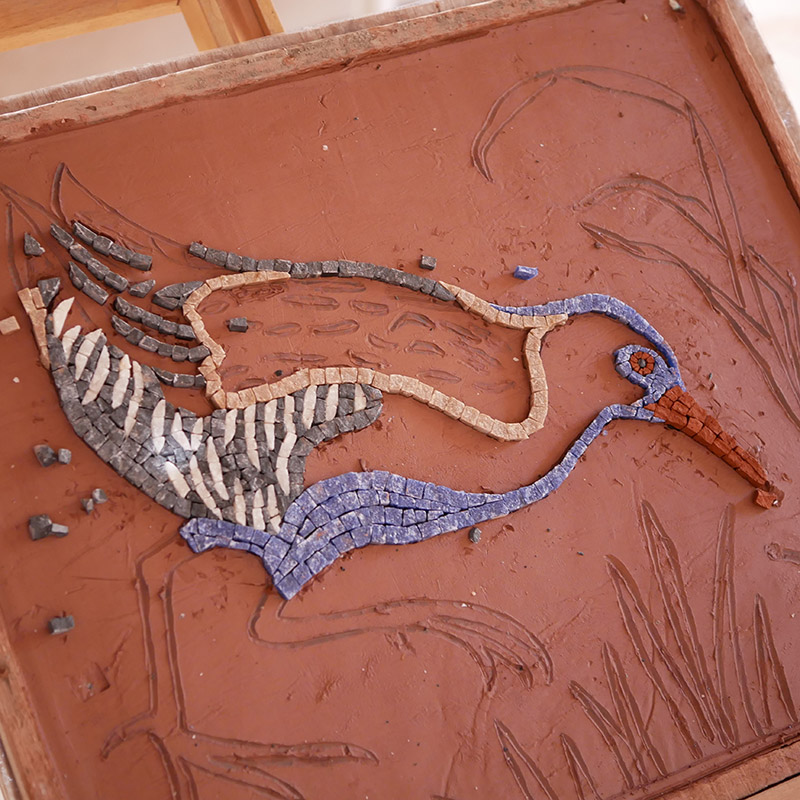
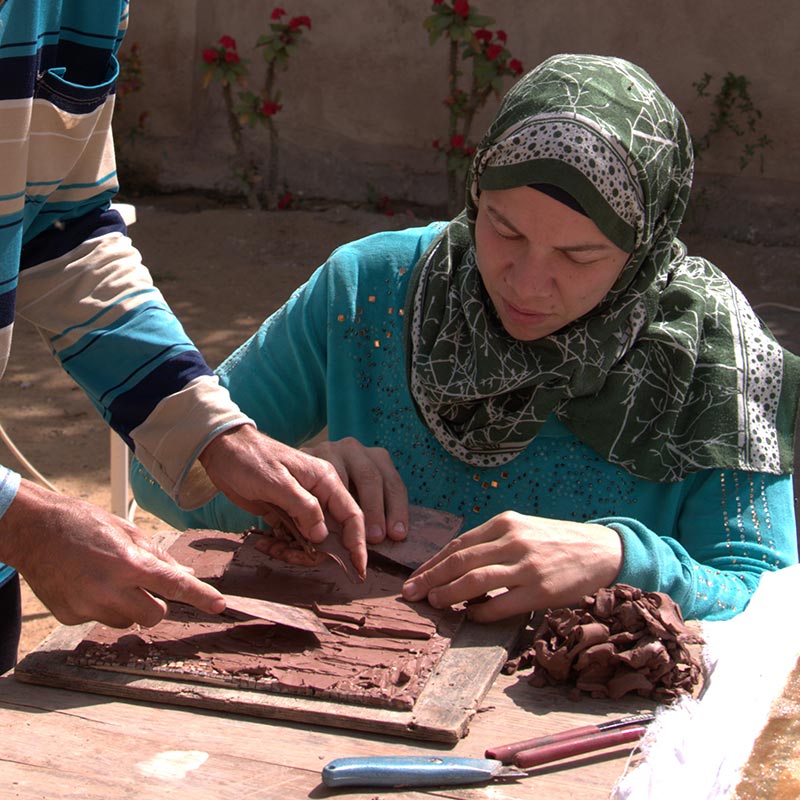
The marble pieces are set in a bed of Aswan clay, which is regularly sprayed with water to keep it soft throughout the working process.
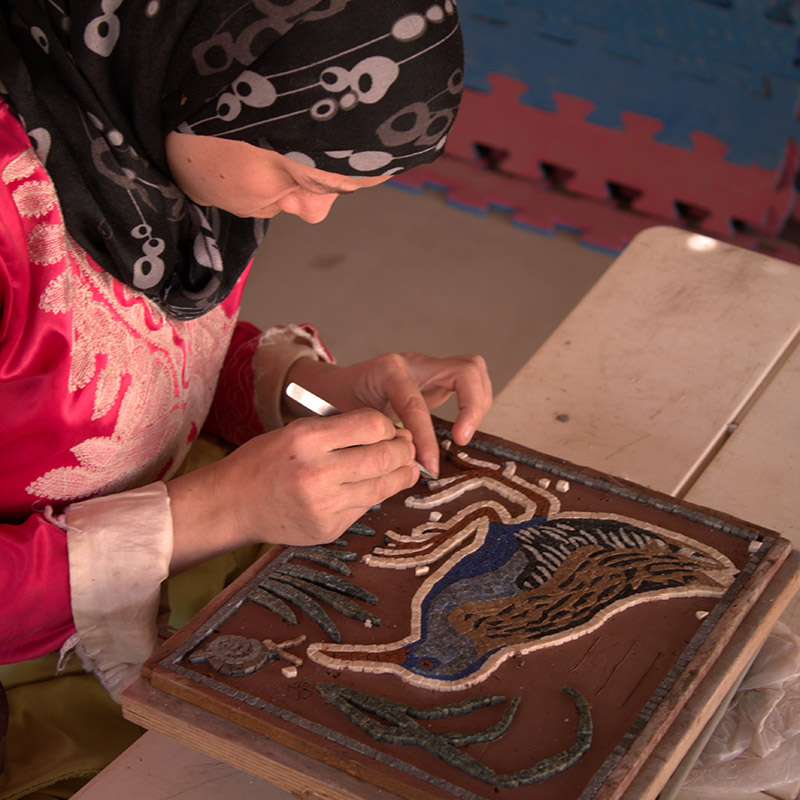
Tweezers are used to set the tiny tesserae, and an emery stone is always at hand to smooth the edges of any irregular piece of marble.
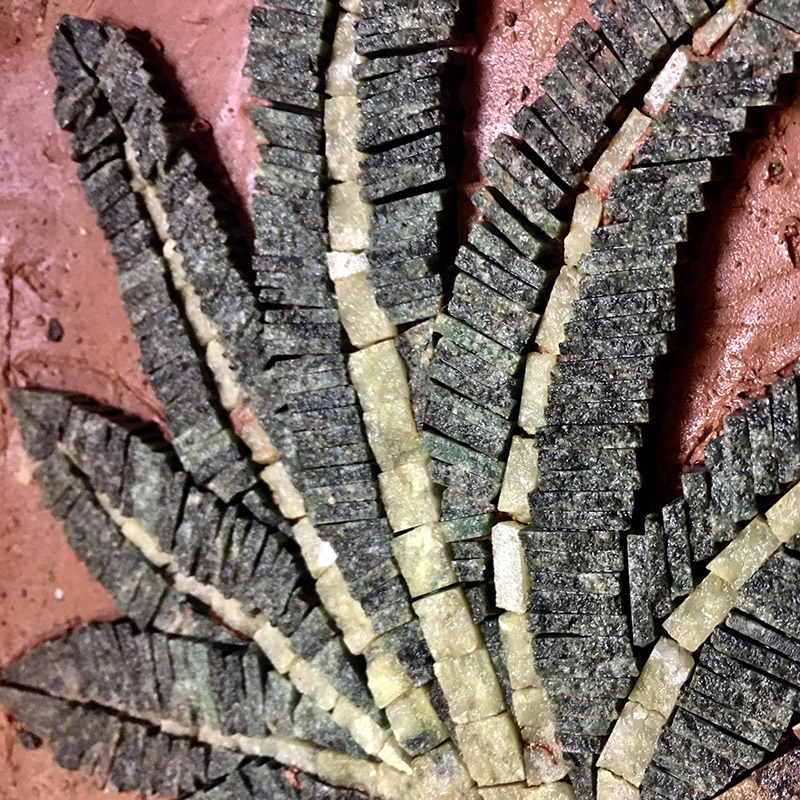
Here the tesserae have been cut to resemble the feathery leaflets of a palm frond.
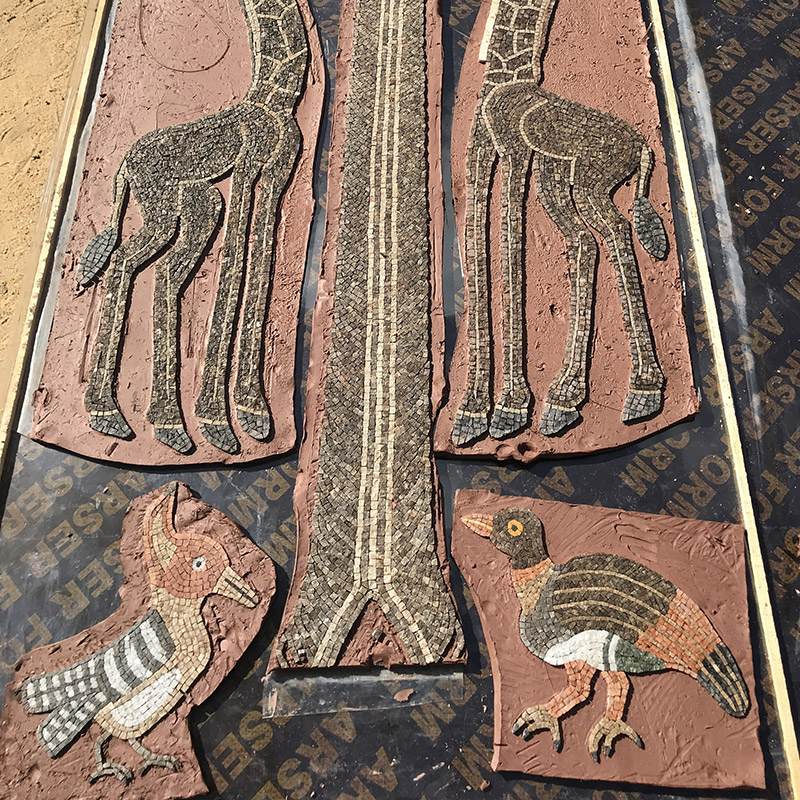
For large panels the figural work is done separately and then assembled.
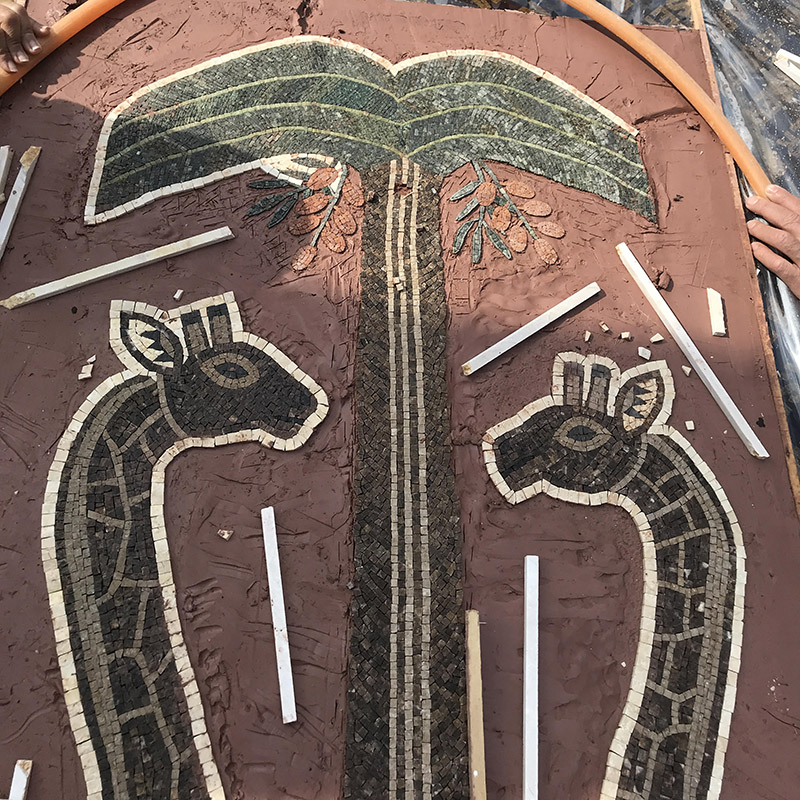
When the figural work is completed the forms are traditionally surrounded by a border of the light-colored background marble.
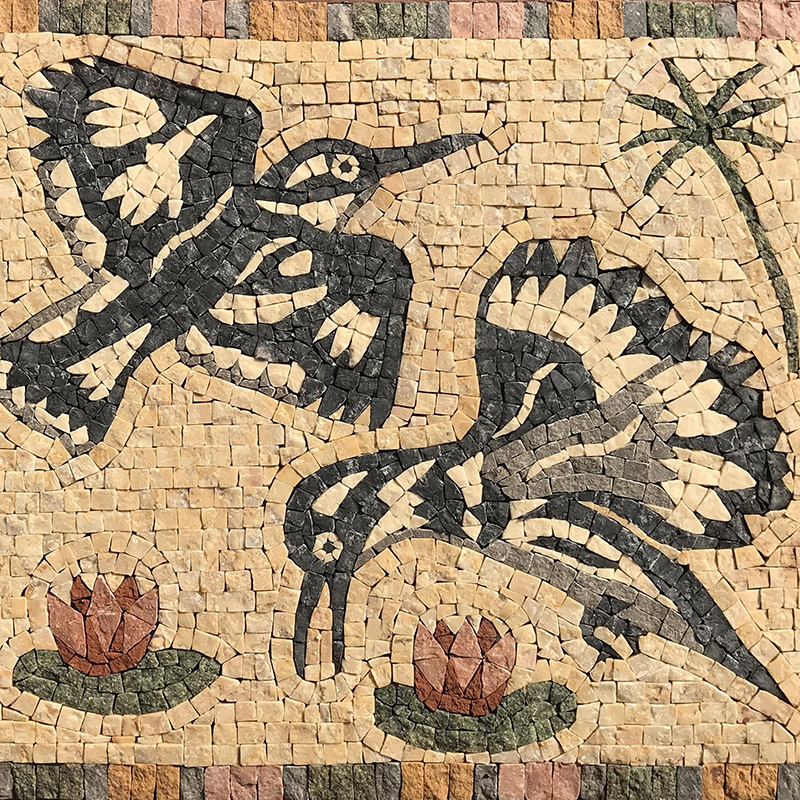
Next the background is filled in with horizontal rows of tesserae. A small panel such as this (23 x 20 cm (9 x 8 inches)) contains approximately 2000 hand-cut pieces of marble.
STEP 2 - Gluing the mosaic to gauze and removing the mosaic from its bed of clay
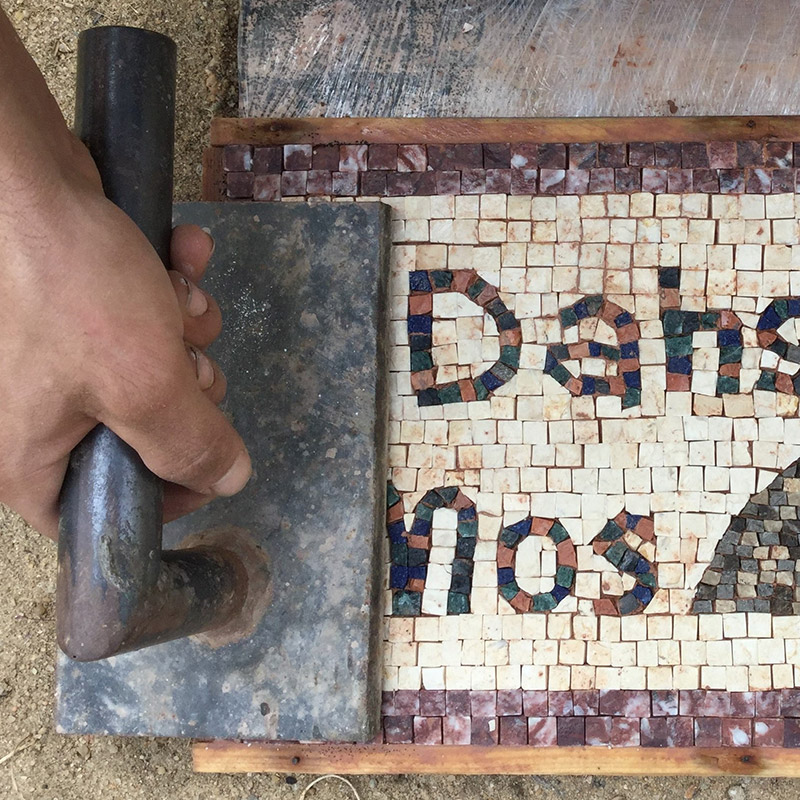
Once all the marble pieces are in place the mosaic is tamped down with a flat-iron to level the surface.
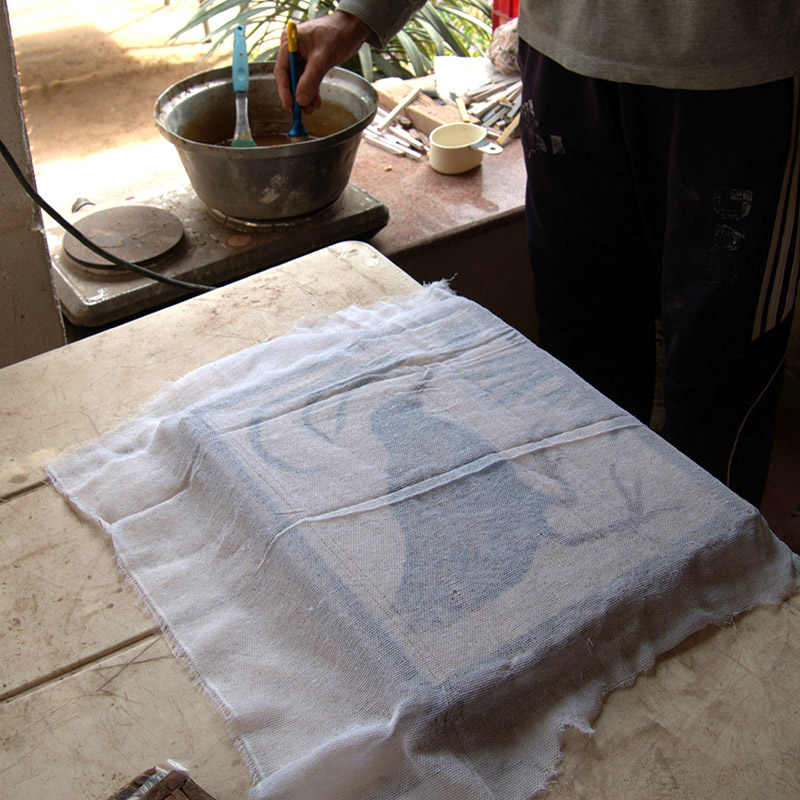
Several layers of wet gauze are laid on the front face of the mosaic.
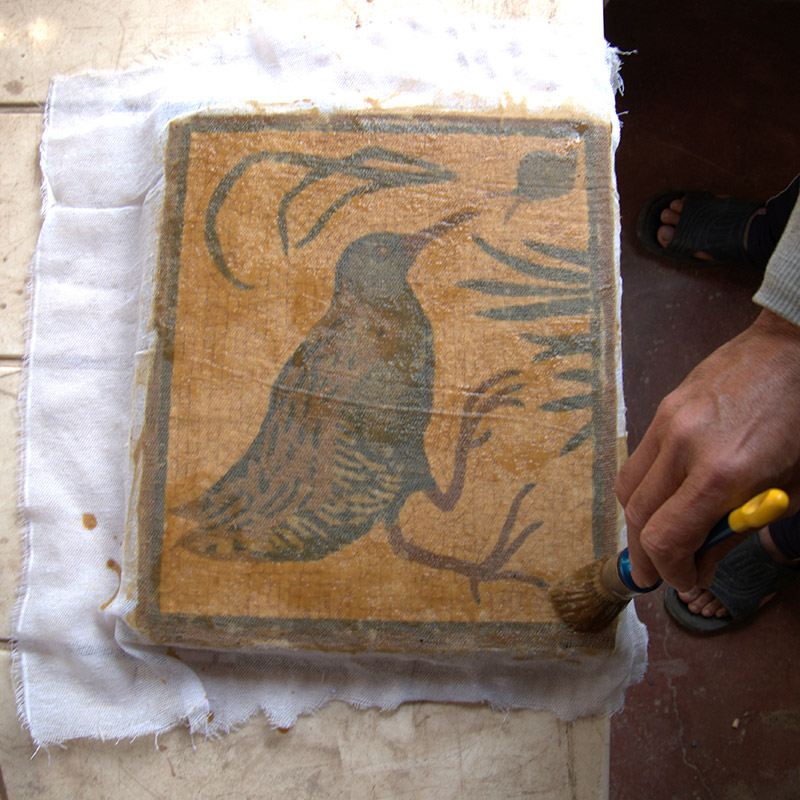
The gauze is painted with a water-soluble glue, which, once dried, creates a solid bond between cloth and marble.
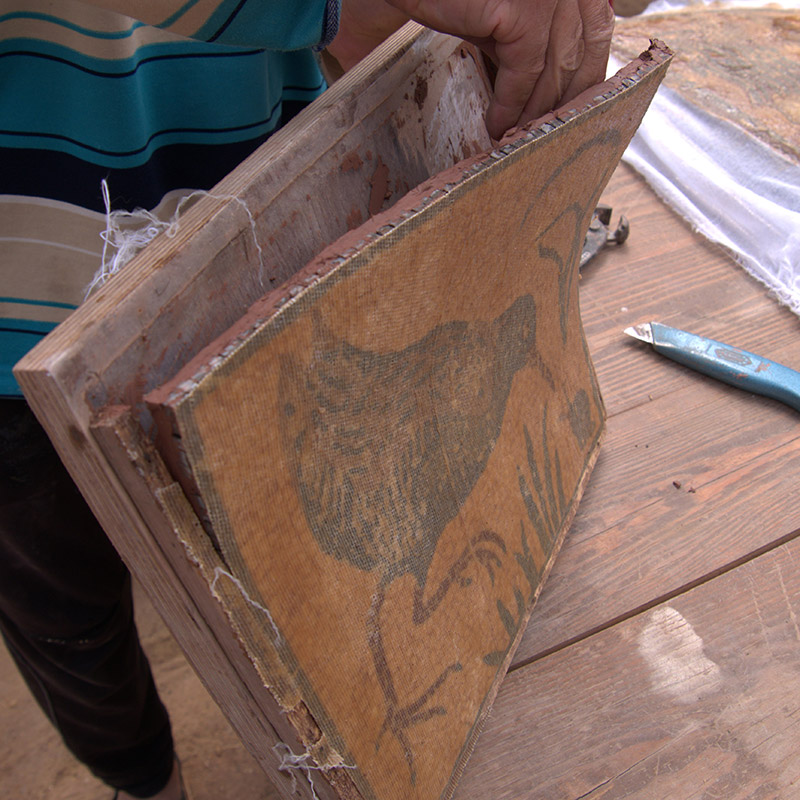
The mosaic, with its marble pieces now held in place by cloth, is removed from the wooden frame.
The clay, still damp, is peeled off the backside of the mosaic.
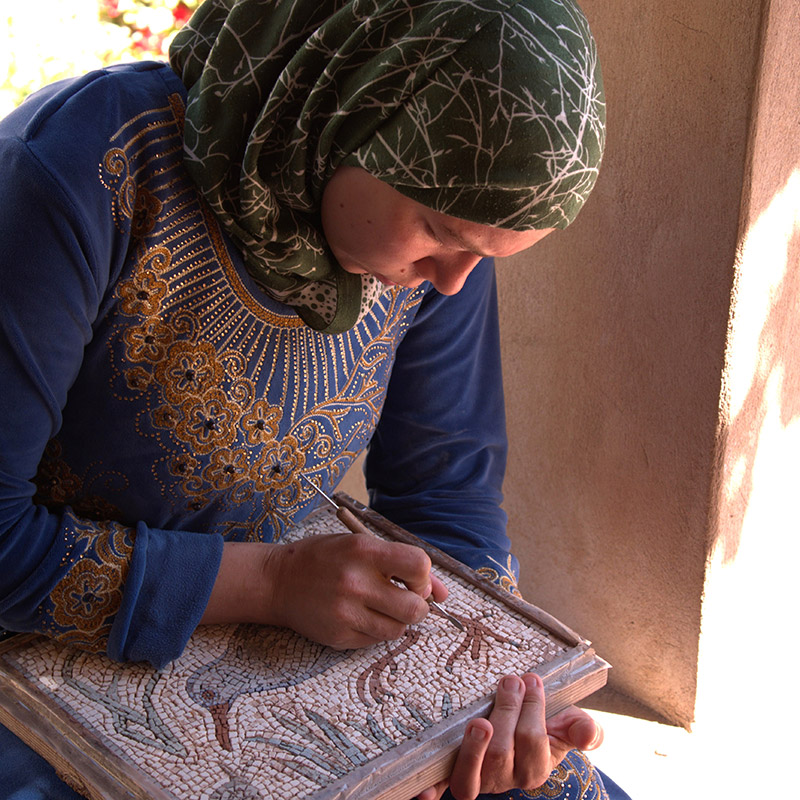
Remnants of clay lodged between the marble pieces are removed with a dental pick.
STEP 3 - Mounting the mosaic in a permanent bed of cement
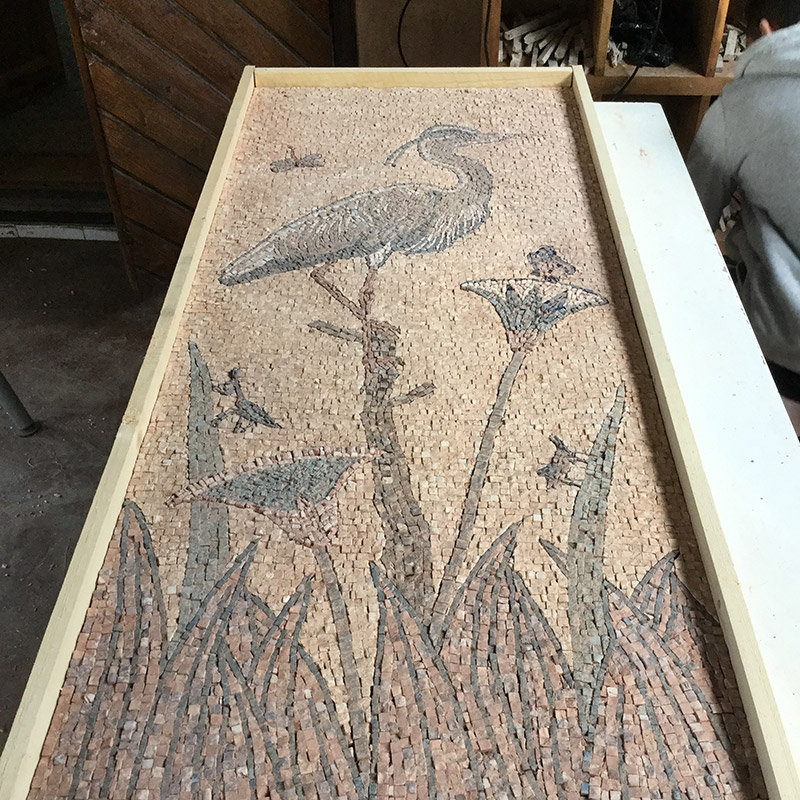
The cleaned mosaic is set in a wooden frame with its backside facing upwards.
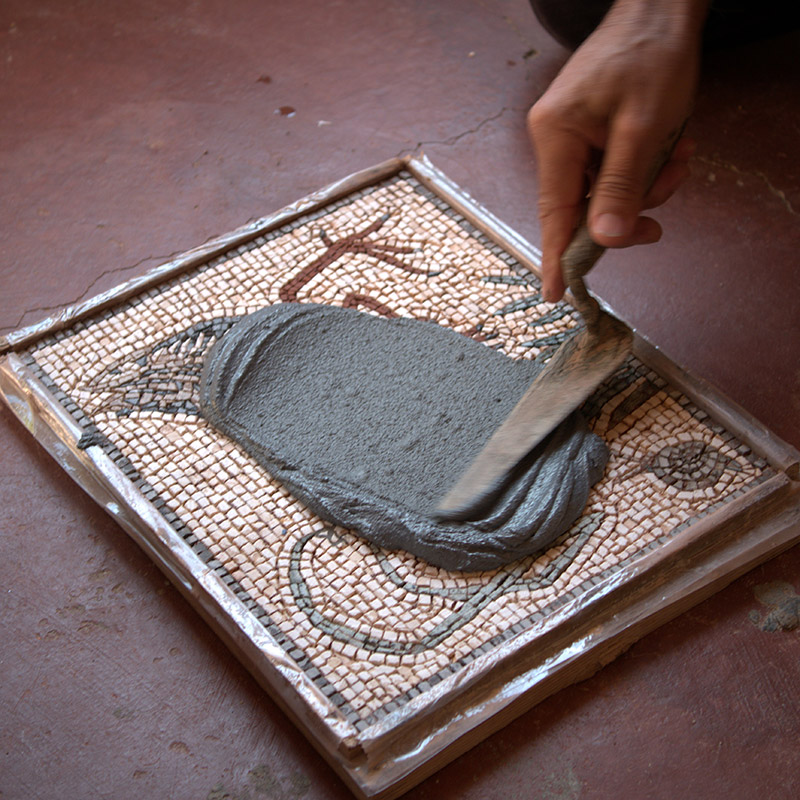
Cement and a layer of fiberglass mesh are applied to the back of the mosaic.
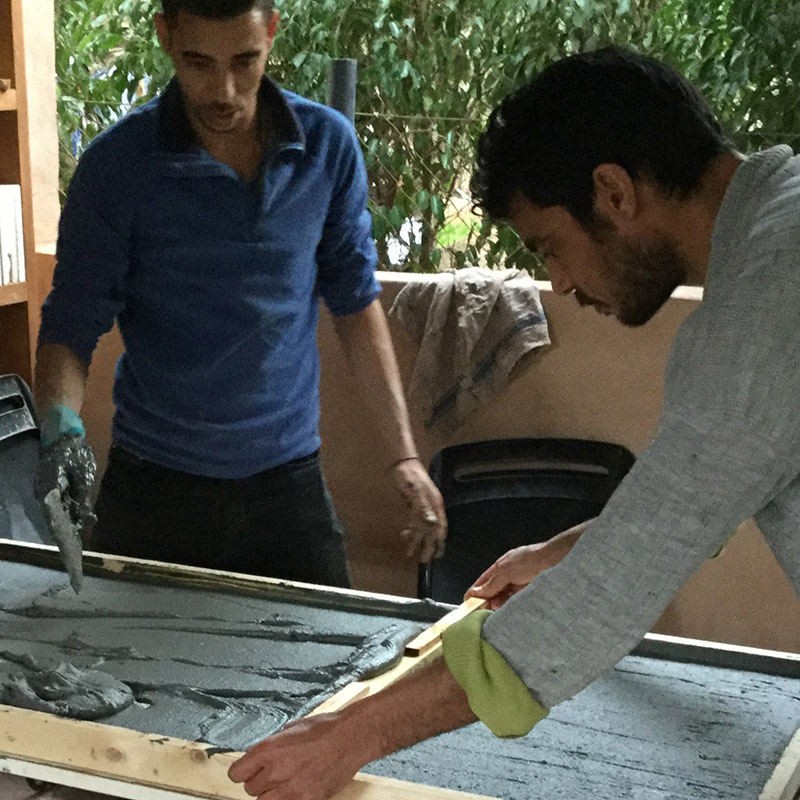
After another application of cement and mesh, the surface is levelled.
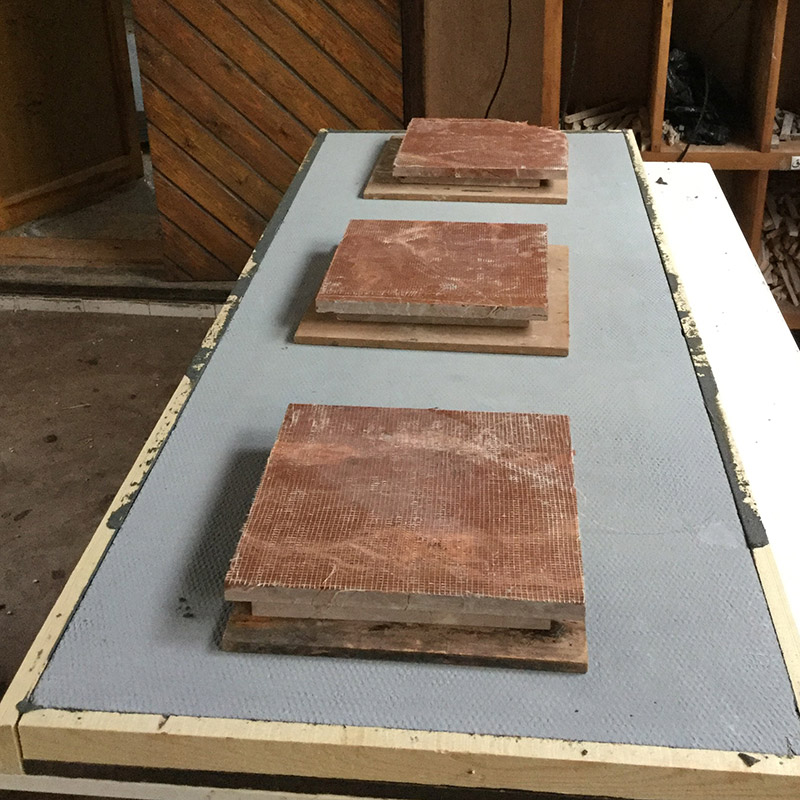
A precisely cut piece of tile-backer board is placed on the cement. This, in turn, is weighed down to ensure that the final sandwich of marble, cement, and backer-board will be flat and of uniform thickness.
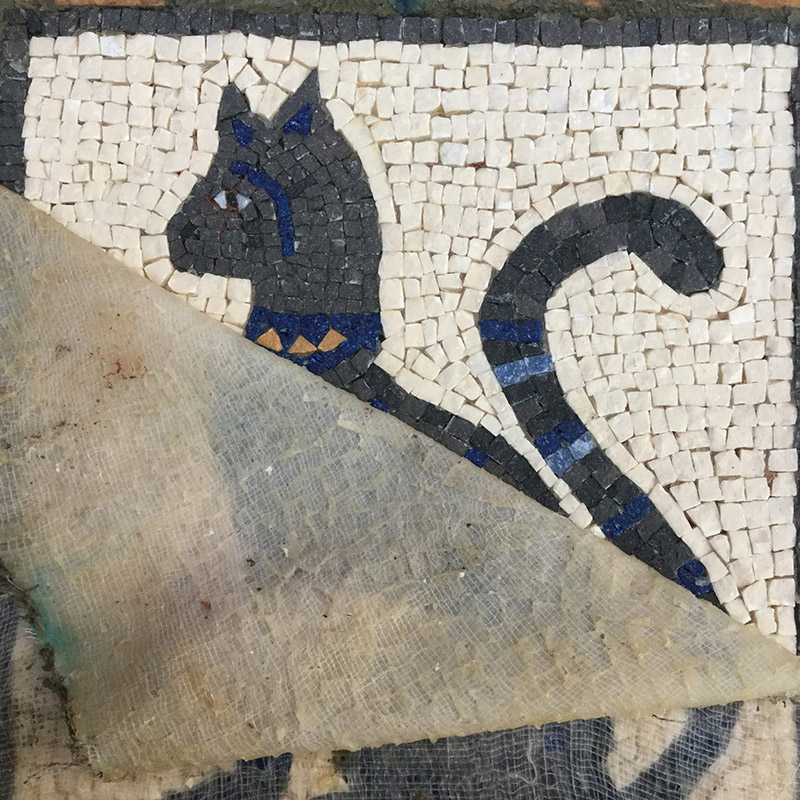
After several days the mosaic is released from its surrounding wooden frame. The water-soluble glue is moistened, and the gauze is peeled off to reveal the front face of the mosaic, now firmly anchored in cement.
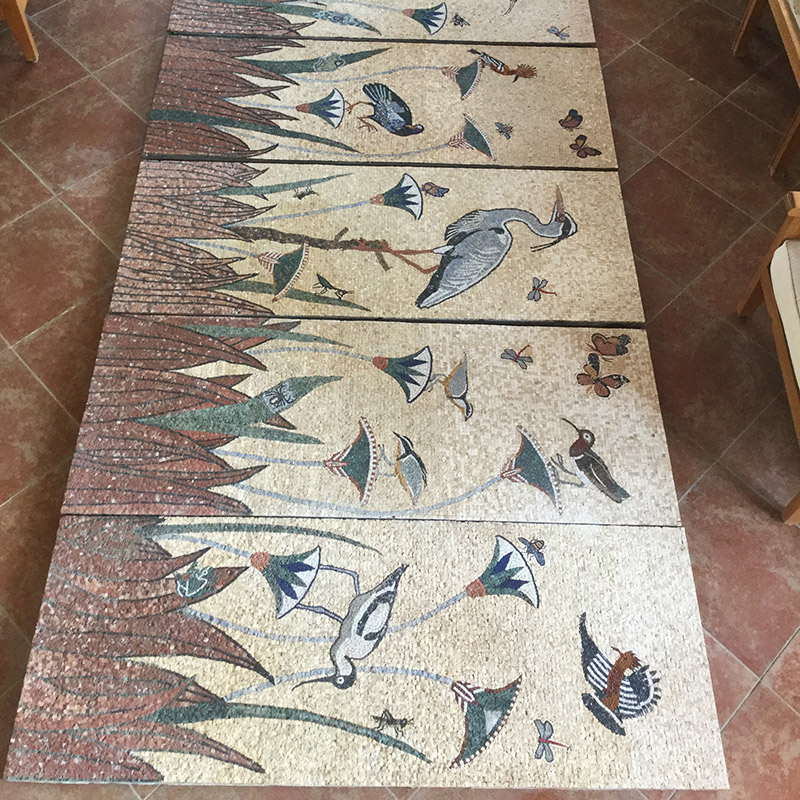
The panels are then left flat on the floor for 3 weeks in order for the cement to cure. Only then can the mosaic be raised and mounted.